Thursday, February 27, 2014

Sausage Chile Soup

I love to cook. Recipe making isn't really my thing, but lately I have been getting creative. I recently made a concoction that turned out really well and I would like to share it. It's super easy.


Sausage Chili Soup

1 pound sausage
1 box chicken broth
1 can green chiles
2 cans petite diced tomatoes
5 regular potatoes, peeled and diced

Brown the sausage in a large pot. Once cooked, drain the grease. Add remaining ingredients and simmer until the potatoes are soft.

See? Super easy. Enjoy!

Sunday, December 15, 2013

A Guest Post and Cookies, Cookies, Cookies

I have, what I like to call, crafting ADD. I can never work on just one project at a time and I always have to be changing them up. I also like to constantly be learning new things. A few weeks ago our church had a cookies exchange. Apparently these ladies take it serious, as the flier said "no plain chocolate chip cookies allowed." I knew I had to bring my A game. I did a lot of reading and even made a few flops before I fell in love with royal icing. My cookies won "most beautiful" and I am addicted. All I can think about is what my next awesome cookie will be. The kids handed some of my cookies out to their teachers at our homeschool co-op. One of those teachers happened to be Virginia from That Bald Chick. She fell in love with my cookies and had me share my recipe on her website. Please go check her out and try my recipe. You won't be disapointed, I promise.


Wednesday, December 11, 2013

Dollies!

I recently bought a pattern from an indie doll designer. I could not resist. Everything she has is completely adorable. The company is called Dolls and Daydreams and you can find it here. I bought the flower fairy pattern. I started out following the pattern exactly, minus the wings. Each one I made I changed a little. They are supposed to be Christmas surprises for my girls but they have all seen them. They talk about them all the time so I think it's safe to say they will love their gifts.


This little lady was made just as the pattern suggested, minus the wings.


I gave this one cheeks and two ponies instead of one.


I got real creative on this one. She has different eyes, hearts as cheeks, braids, leggings, and a headband.


As you can see, this one is still a work in progress. I just love her little tights and her crown. She is a gift for my one and only niece. My oldest would die of embarrassment if I gave her a doll. (Oh yes, we are at that wonderful pre-teen stage.)


Wednesday, November 13, 2013

Sewing With Toddlers

Since school has started, time to sew has been elusive. We are one of those crazy homeschooling families. My days are consumed with lesson plans, pencil sharpeners, and workbooks. The oldest three get a lot of my attention but the little girls often have to play by themselves. Today I wanted to spend time with them but I was also looking to get something productive done that wasn't school work or household chores. I had managed last week to sew a pair of pants for the twins. (Yes, "a" pair. The second pair is still half finished.) I bought this book on Amazon that I love: Cute Clothes For Kids by Rob Merrett. When the twins were babies, most of their wardrobe came from his other book, Making Baby's Clothes. I highly recommend both.
I was pretty much finished with the pants but I like to put tags in my clothing to remind me of the size since we pass a lot down. The twins helped me make some new tags. It took a little longer, but we had so much fun. I don't think a child is ever too young to start helping.


Such a little goofball!

Here is the finished product.


Wednesday, August 28, 2013

A Pattern-Free Summer: Back to School

We are happy to be a homeschooling family so back to school is a little different for us. We are involved in many classes outside of the home and this year we will be joining a co-op. A co-op is kind of like regular school for a day. The kids have different classes throughout the day, all taught by other parents. The kids all need backpacks for co-op. My oldest two children pitched a fit about getting cool, store-bought ones, much to my sadness. The younger three didn't really have a choice, although they did really like the ones I made. I let each girl pick out their own fabric. The twins picked out Dora and Minnie Mouse. My middle picked out, her all time favorite, kitty cats. I found a tutorial on making your own pattern here: Paterning a Backpack. I have made my own backpack pattern in the past and used that for the twins' smaller ones but I really liked the straps on this one. I added a lining to mine as well.


The kitty's mouth is a pocket and the twins are always wanting to "feed the kitty". 

 I added a little ruffle to the side. I think it adds a little flair to it but it also helped when I sewed it together. I didn't have to have my measurements exact.


I made myself a bag as well. It is a messenger bag that turns into a backpack. (It looks a little wonky hanging up but it's not. I promise.) It has a padded pocket for my laptop, pockets for my Kindle, phone, and all the cords. I have no link for this. It is something that I designed myself.


We also have to take a packed lunch with us on co-op days. I bought a large canvas cooler on clearance at Target and made some snack bags. Here are some of the ones I have made. The second one is pretty big and can be used for sharing.

Saturday, August 3, 2013

A Pattern-Free Summer: Homemade Pull-Ups

The twins are around that all-fun potty training age. Little Bits has no desire whatsoever to even try. Miss Mommy, on the other hand, pretty much self potty trained herself before she was two. I went to the store and was appalled by the price of pull-ups. (I'm sure we have all been at one time or another.) And like every other crafter, I said to myself, "I can make that!" So I did. I bought PUL (waterproof) fabric and used old t-shirts to make a few pairs. They work great! I used 2 layers of fleece inside of the lining to absorb. I found a free pattern and tutorial for undies here: Easy-On Potty Training Pants. I found this pattern to be a little small for my girls so I altered it a bit to make them bigger.


I found this adorable butterfly PUL at Hobby Lobby and used my coupon, making my 1/2 yard only $4. I used old t-shirts that I had laying around but you could pick up some thrifted ones for cheap. I think that I estimated that I could get 10 pairs out of the 1/2 yard of PUL. So, including the elastic for the waistband, I will have spent less than $10 for 10 pair of reusable homemade pull-ups. Not bad at all!

Wednesday, July 10, 2013

Sewing Class: Make Your Own Shorts Pattern

Have you ever wanted to sew something but didn't have a pattern? Have you ever wanted to make your own? I bet it's much easier than you think it is. I made a pair of shorts in about an hour, including making the pattern. I will show you how but only if you give it a try. ;)


Here is what you will need:
-a pair of shorts that fit the person you are making the shorts for
-a pencil
-a ruler
-paper (I prefer tissue paper. It comes in big sheets and is easy to pin.)


Turn your shorts inside-out and fold them in half. Line the long side of your shorts up with the edge of your paper. Using your ruler, trace your shorts leaving 1/2" seam allowance. I left 1" at the bottom for the hem and 1 1/2" at the top for the waistband.


And there you go! You have a pattern. It's a good idea to mark the size and top and bottom of your pattern, for future reference.


Now, to use your pattern. Cut two pieces with the long side of your pattern on a fold. Sew the two leg seams. I used a serger because I used knit fabric and wanted to have room to stretch. You can use a regular stitch.


Turn one piece right side out and slip it into the other. Line up the centers and pin. Now sew all the way around.


You should have this.


Now make your waistband. You can serge the edge or fold it over 1/4" for a clean finish. Then fold over 1", pin or press it in place, and then stitch. Don't forget to leave about an inch or so gap so that you can put the elastic in.
For the hem, fold over 1/2", then again, and stitch.


Measure you elastic on your model. Make sure to make it a little tight so that the shorts don't fall down but not too tight. Using a safety pin, pull the elastic through the waistband, being careful not to twist it. Hold on to the opposite end so that you don't loose it. That's never fun. Stitch the two ends of the elastic together and then stitch the gap closed. I like to sew a tag with the size in the gap. If you don't have a tag you can use a ribbon to signify the back of the shorts.


A handy little trick for keeping the elastic from rolling is to stretch the waistband out and sew through all the layers. Make sure you have the gathers evenly distributed before you start or it might not all match up like you want.


If you want to make a pair of pants the idea is the same, just make the legs longer.

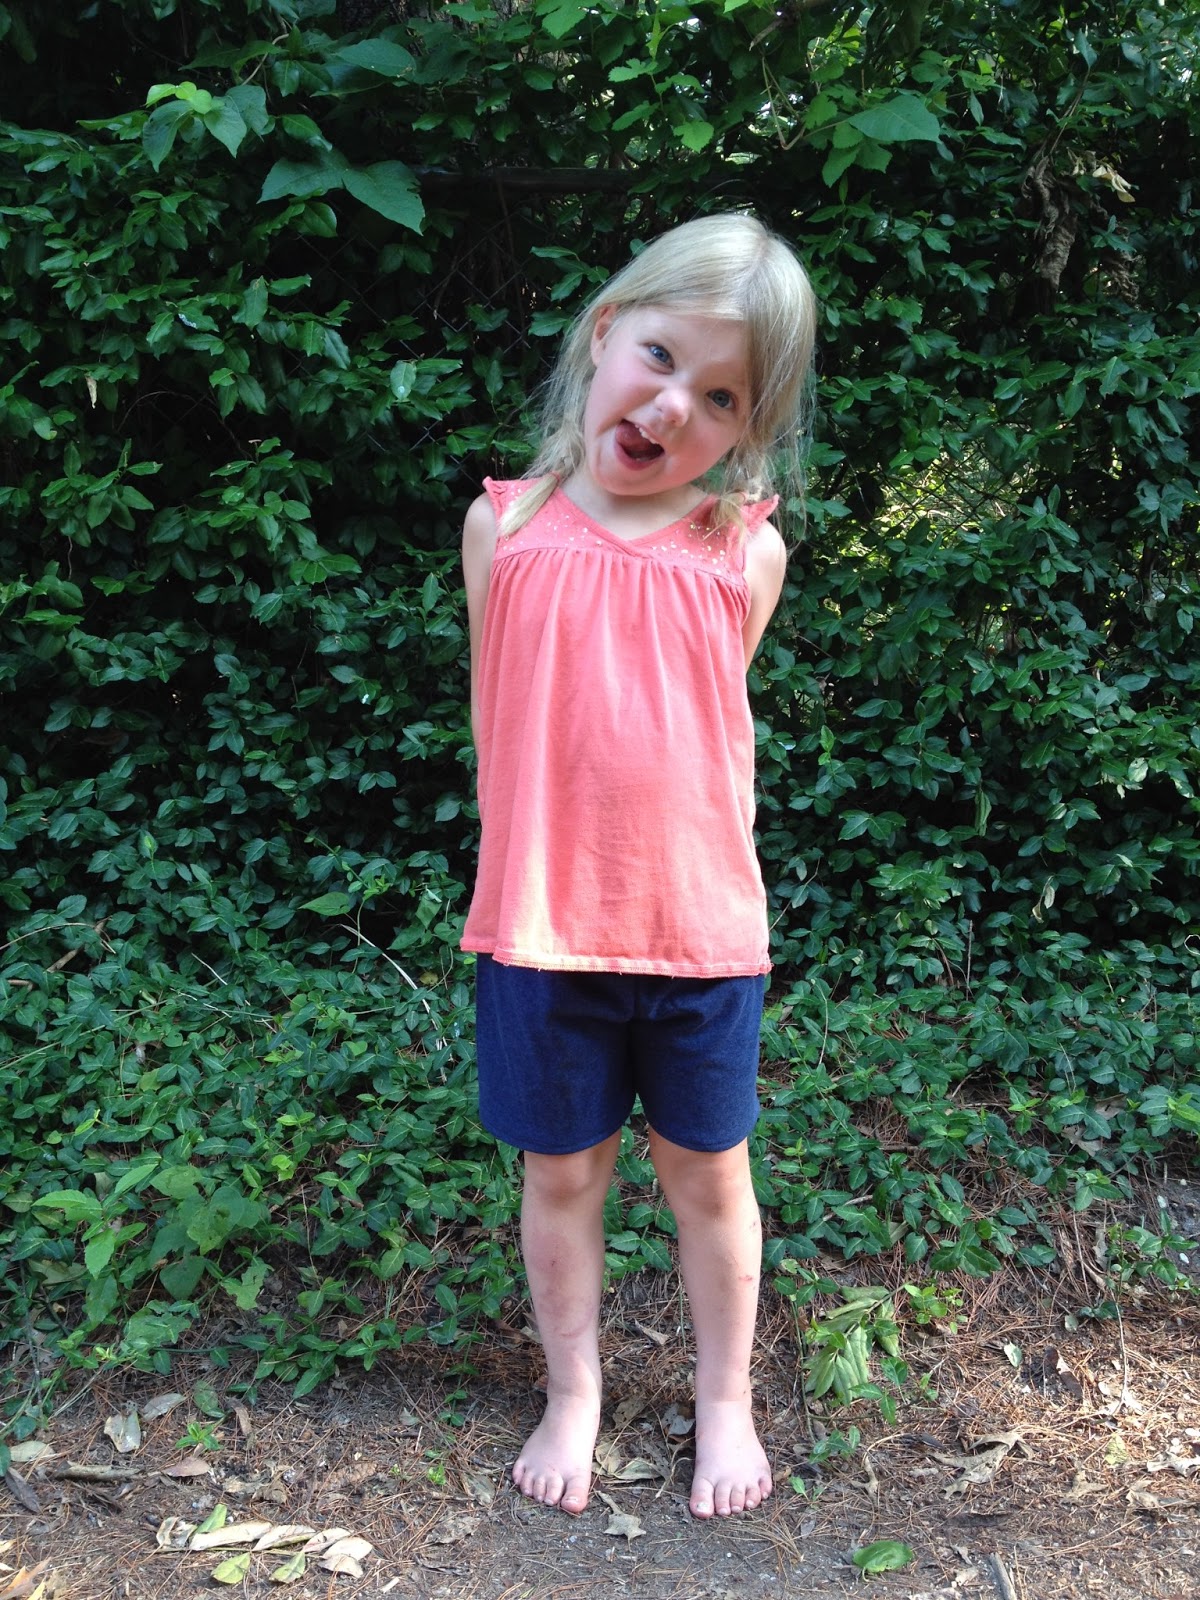
And here is my goofy, ratty-haired, Kool-aid smile model. Hey! It's summer. ;)


Saturday, July 6, 2013

Organizing and Child Proofing

Right now my craft desk has gates all around it. The twins are 2 but they are still into everything. And I mean EVERYTHING!! They are completely fascinated with my desk and always go straight for my pins. I would really love to take the gate down, especially since they have figured out how to climb over it. I have a closet for all of my craft supplies but I need a way to store things that I use on a regular basis. I found this magnetic dry erase board with metallic finish. I would eventually like to get a nice frame and put sheet metal in it but this works for now. I also found some little metal containers with magnets on the back. I glued magnets to the back of tin cans, paper clips, and my pin cushion. Next time I will get stronger magnets but these work for now. I glued ribbon on the inside of the cans to cover the sharp edges.


Thursday, June 13, 2013

A Pattern-Free Summer: Rompers!

Tell me, what screams summertime and little girls better than a romper? I've seen them all over and I can't help but ooh and aww over every single one. I found a pretty simple tutorial for one at makeit-loveit here: Little Girl Romper. It has pleats on the front but don't be intimidated, they are easier than they look.


Wednesday, June 12, 2013

Macrame: Low Tech Crafting

Just over a week ago we had a tornado hit our neighborhood, including our yard. We were blessed to have no damage to our house but we had several days without power and lots of free time. I have been wanting to try macrame for a while and this seemed like the perfect time. It's a very old craft. The basics are pretty easy but it can be used in so many ways. I will show you the simplest one for now.


Here is what you will need:
-any sturdy yarn or cording. (I suggest you use yarn for your first attempt. Cording can tend to be slippery but it is more strong. I used cotton yarn for all of my projects.)
-any ring (I used a key chain)
-scissors


Measure 4 pieces of yarn, 1 yard each. I used the old trick I learned from my mom to measure. Hold one end straight out in your hand and the other end to your nose while looking the opposite direction. On a grown person this should roughly be a yard. Here is my dear daughter showing how it's done.


Fold your 4 pieces in half, with a loop at the top. Put the loop through the ring and pull the other end of through the loop.


Pull tight.


Separate your strings into 4 groups of 2. Tie each group into a knot. I just eye-balled it but it was about 6 inches down. You want to have enough room to get your pot through here.


Next, you are going to take your strings and separate them into new groups of two and tie knots about 3 inches down.


This part can be a little tricky, but you are going to take the two outside strings and tie them together, creating a tube.


Now we are going to do it again, separating and tying knots. 


Take the two outside string again and tie them together in a knot.


Lastly, tie a knot in all of the strings at the very end.


It can be a little confusing and look like a mess as you are doing it so I hope the pictures help. The best thing about this kind of crafting is that you can do it anywhere and it can be as simple or as complicated as you want. I did all this sitting outside on my patio, eating some yogurt and watching my middle child roller skate while the twins napped. My garden somehow managed to make it through the storm. A few trees around it fell so now it will get even more sun. The rest of our yard is still kind of a mess but it is peaceful here.


If you want to step it up there are tons of fancy knots that you can do.